To try and make my live life drawing sessions a little more useful, I want to do more timed practices to get basic pose gestures down a little quicker. The website artmodeltips.com has a decent array of poses from a variety of models. The plan is to do at least one timed-out practice from these a week, photographing the process as I go to see where adjustments happen and to make sure that I'm applying detail only when ready.

3 minutes: I tried to capture the whole pose in as short a time as possible. The general sweep seemed OK, you can see where amendments have been made already to the left arm and side and the right leg.
10 mins: Detail added to the face and upper torso. Usually I leave the face until the very end but the angle of it seemed important to how the pose worked, in pulling the spine around to the curve which decides the position of the legs. At this stage the torso down to around the middle rib level is pretty much set.

20 mins: Once detail was added to the torso I could see the proportion issues in the lower body. The hips were lowered, the curve from the waist to the hip lessened in severity and the thigh straightened out. Detail marks were added to the stomach and legs. At this stage, the whole pose is largely finished, at least in terms of basic outline.

35 mins: a few touch ups but this time was spent almost exclusively on adding detail to the face. The angle of the nose was especially important to get right, to ensure that the downward cast of the face was as it should be.

60 mins: without a fixed deadline, I decided to concentrate on completely finishing the head. After that, I worked on the upper arms and around to the forearms, which meant I could sketch in the hair and be totally finished with the top part of the drawing. Next, shading in the shoulders, ribs and back meant that the tension in the arm muscles were in context. Anchoring the navel in allowed the rest of the drawing to be completed using the centre line that curves from the hollow between the collarbones all the way through.

90 mins: all shading added from the hips down through the legs. Contrast added by erasing the smudged pencil from the line of the right side that runs along the inside angle and down to the top of the knee cap, and along the outer edge of the left thigh.

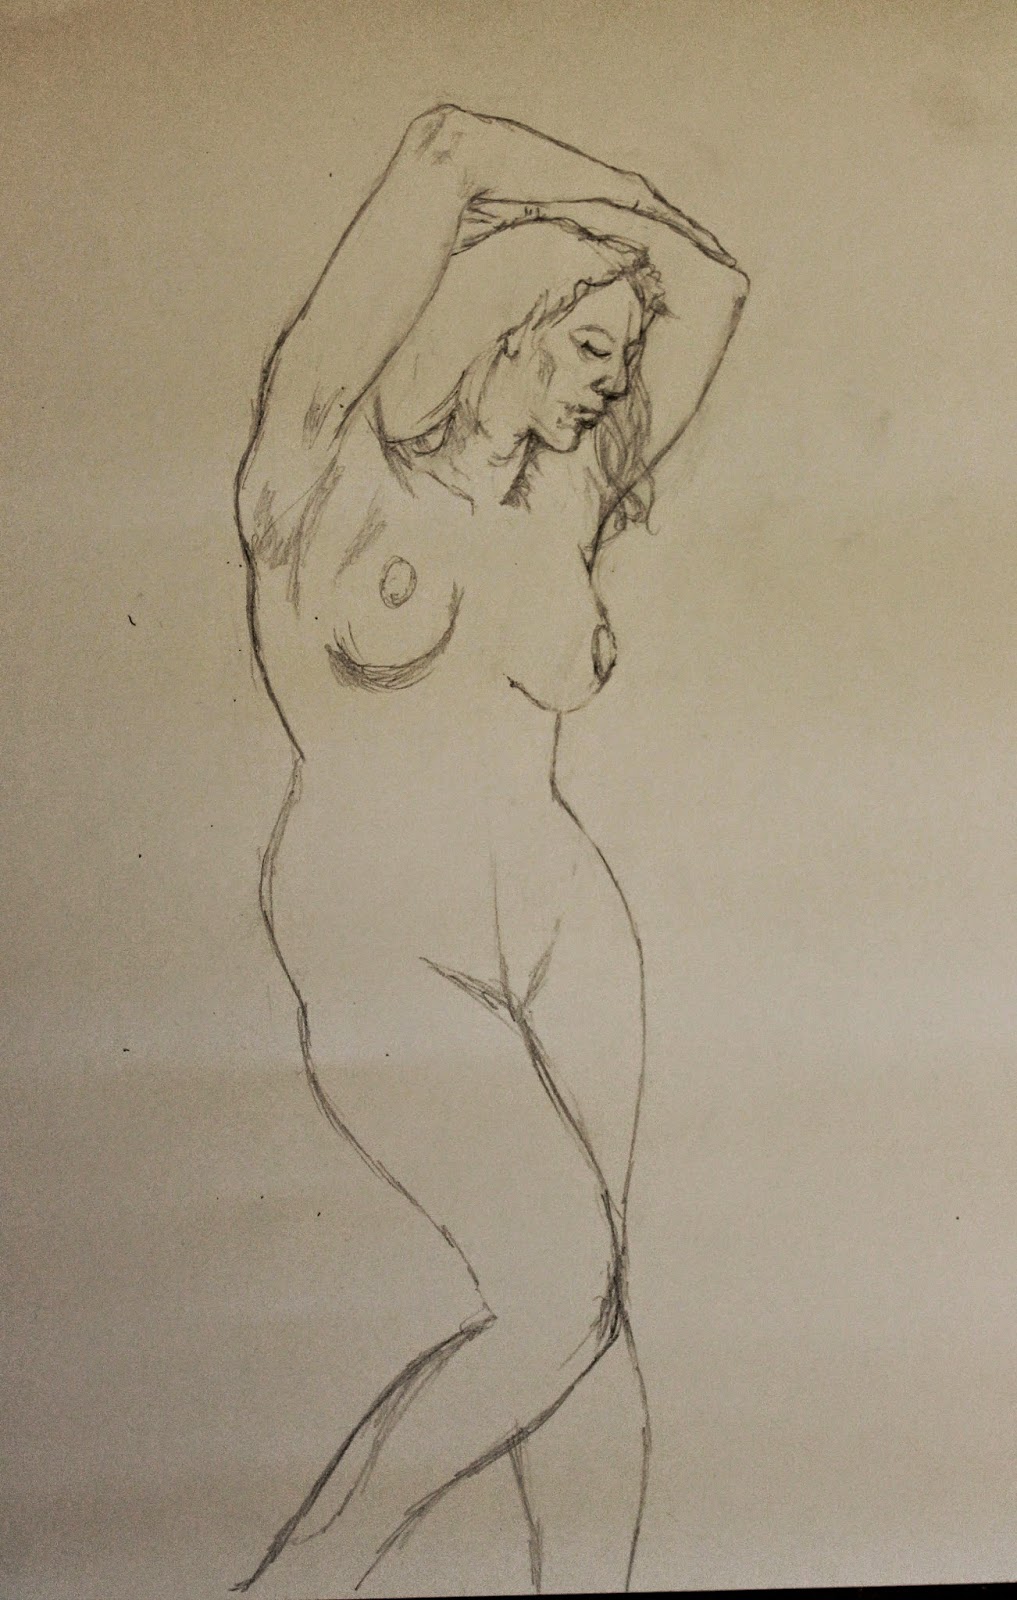
Finished sketch after returning to it some time after. Tweaks to the jawline, left side of the stomach, and further defining the left clavicle area by removing some of the shading.
Overall this was instructive. For one, there's the issue of positioning on the page. I'm not visualising the finished drawing on the page so ended up unable to finish the full length of the pose because I ran out of paper. Next time I'd like to try measuring out the key signifiers (i.e. top of the head, bottom of the chin, shoulder, hip, knee, and foot, if a standing pose) and mark those horizontally on the page to work to.
The face bears a passing resemblance to the model but was really there to ensure that the picture works as a whole. It looks kind of like an older painting, less photo realistic, but I quite like it. Next time I may try and hold off on detailing the face so closely as early as I did, just to get through the pose as a whole quicker. Working down from the torso was useful as, judging from most of my previous attempts at figurative drawing, I have a tendency to shorten the lower body somewhat, and it's much harder to remove that once it has been lined in too heavily. In longer (20-25 minute) poses in life drawing I'd be tempted to line the pose out in graphite and check proportions before adding detail in charcoal, if I have time.
The face bears a passing resemblance to the model but was really there to ensure that the picture works as a whole. It looks kind of like an older painting, less photo realistic, but I quite like it. Next time I may try and hold off on detailing the face so closely as early as I did, just to get through the pose as a whole quicker. Working down from the torso was useful as, judging from most of my previous attempts at figurative drawing, I have a tendency to shorten the lower body somewhat, and it's much harder to remove that once it has been lined in too heavily. In longer (20-25 minute) poses in life drawing I'd be tempted to line the pose out in graphite and check proportions before adding detail in charcoal, if I have time.
No comments:
Post a Comment